The key to perfect chocolate work isn’t having different chocolates, but mastering the art of transforming a single couverture’s viscosity for any task.
- Viscosity is controlled by the percentage and crystalline structure of cocoa butter.
- Precise temperature management and incremental additions are non-negotiable for repeatable results.
Recommendation: Shift your thinking from “thinning chocolate” to “targeting a specific point on the viscosity spectrum” for your desired application.
As a versatile pastry chef, you face a constant challenge: the same high-quality couverture chocolate needs to perform flawlessly as a dipping shell one moment and a delicate mousse the next. The common advice is often to simply “add cocoa butter” to thin it or “let it cool” to thicken it. These are platitudes, not a strategy. This approach lacks the precision required for consistent, professional results and ignores the complex science at play. It leads to waste, frustration, and inconsistent product quality.
But what if the real solution wasn’t just about adding an ingredient, but about actively managing the chocolate’s internal structure? The secret lies in understanding that you are not merely thinning or thickening a liquid; you are manipulating a crystal network. Adjusting viscosity is a strategic act of deconstruction and reconstruction of the cocoa butter’s crystalline form. It’s about understanding the fundamental relationship between fat content, temperature, and agitation to hit a specific application target on the viscosity spectrum.
This guide provides a technical framework to move beyond guesswork. We will explore how to precisely target fluidity for extreme applications like fountains and glazes, how to build viscosity for detailed piping work, and how to avoid catastrophic errors like seizing. By mastering these principles, you can transform a single batch of chocolate into the perfect medium for any creation, turning you from a simple user into a true viscosity architect.
To help you navigate these technical concepts, this article is structured to address specific, practical challenges. The summary below outlines the key applications and principles we will cover, providing a clear roadmap to mastering chocolate fluidity.
Summary: A Technical Guide to Chocolate Viscosity Control
- 1 drop or 5 drops: what fluidity index for a chocolate fountain?
- Cocoa butter or neutral oil: what to add for an ultra-fine opera glaze?
- How to make a fluid couverture pasty enough for piping with a cornet?
- The wet spoon mistake that turns your fluid chocolate into a brick
- Bain-marie or proofer: how to keep 5kg of fluid chocolate for 4 hours of service?
- How to manage the dry phase of conching to maximize the evaporation of acids?
- Neutral or aromatic: which cocoa butter to use for fluidity without changing the taste?
- How to Enrobe Bonbons Manually Without Leaving Thick Feet?
1 drop or 5 drops: what fluidity index for a chocolate fountain?
A chocolate fountain is the ultimate test of fluidity. It requires a viscosity low enough to flow seamlessly in a continuous curtain without clogging the machine. While manufacturers use a “drop” rating system, the practical target is defined by flow rate. The goal isn’t just thin chocolate; it’s a specific, measurable behavior. A chocolate that is too thick will create gaps in the curtain or fail to ascend the auger, while one that is too thin will appear translucent and lack richness.
For optimal performance, the standard is not a subjective “drop” number but a functional test. Professional testing shows the fondue should drain completely through a viscosity funnel in 8-10 seconds. This corresponds to a viscosity score generally below 40 on a professional scale. Achieving this often requires adding a thinning agent, as most standard couvertures are too viscous. The key is to add just enough to enable flow without compromising the chocolate’s flavor and texture.
If you encounter an uneven flow, the issue may be air pockets rather than viscosity. Before adding more thinning agents, turn the fountain off for 15-30 seconds to allow trapped air to escape, then restart. You can also use a spatula to scrape around the base of the crown to release stubborn air pockets. Only after these mechanical checks fail should you consider further viscosity adjustment. This systematic approach saves you from over-thinning a perfectly good batch of chocolate.
Cocoa butter or neutral oil: what to add for an ultra-fine opera glaze?
Creating a mirror-like, ultra-thin glaze for an Opéra cake demands exceptional fluidity. The goal is a coating that is barely there, yet intensely glossy and with a clean snap. This requires a significant reduction in viscosity. While a neutral vegetable oil can thin chocolate, it is a fundamentally different approach than using pure cocoa butter. Oil simply dilutes the mixture, but adding cocoa butter is an act of homogenization—you are adding more of the same fat that is already the backbone of the chocolate’s structure.
For a high-performance glaze, pure cocoa butter is the superior choice. It maintains the couverture’s integrity and ensures the final product has the correct snap and mouthfeel. High-quality couverture with excellent flow properties inherently contains a minimum of 31% cocoa butter. By adding more, you are leaning into this characteristic. The added cocoa butter integrates seamlessly, preserving the chocolate’s flavor profile and, most importantly, its ability to set into a stable crystalline structure, which is responsible for the coveted gloss and snap.
Neutral oil, on the other hand, can inhibit proper crystallization. This can result in a glaze that is soft, dull, or even slightly greasy. While it can be a quick fix for non-critical applications, for a showpiece like an Opéra, compromising the crystalline structure is not an option. The choice of cocoa butter is a choice for quality and structural integrity.
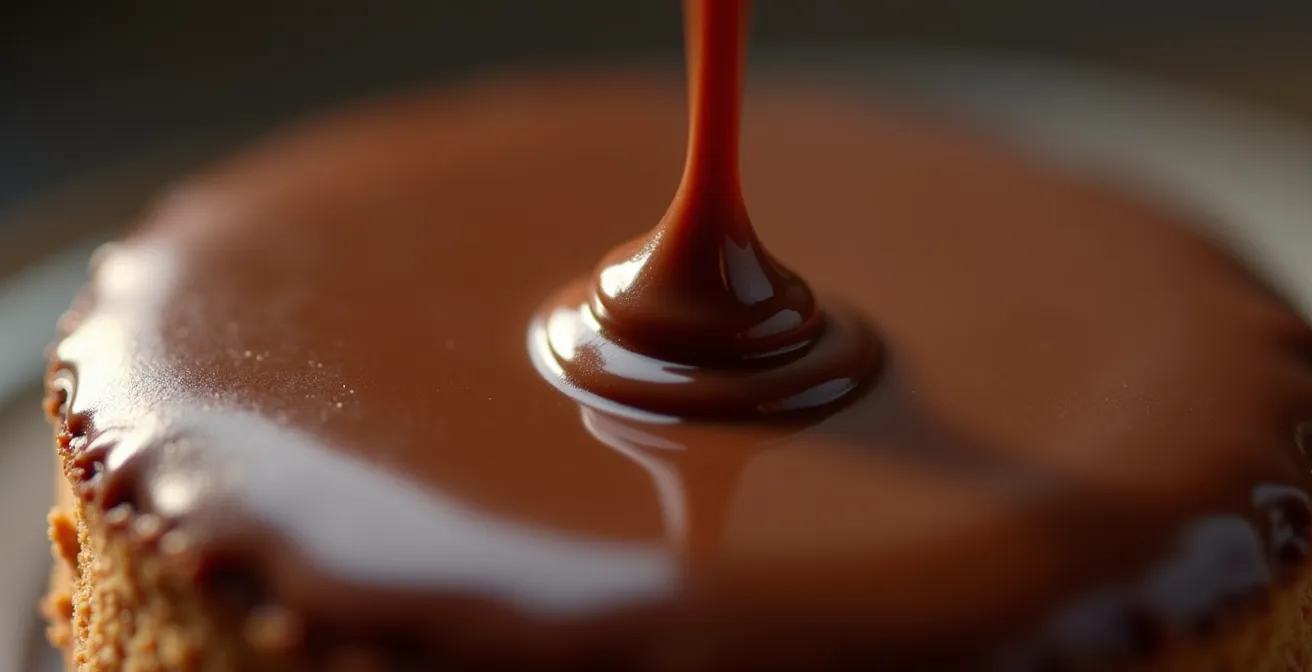
As you can see, the perfect glaze is defined by its molecular structure. The shine isn’t just a surface effect; it’s the visual proof of a perfectly formed, tight network of cocoa butter crystals. This is the result you are targeting when you choose to add more cocoa butter instead of a foreign fat.
How to make a fluid couverture pasty enough for piping with a cornet?
While many tasks require thinning chocolate, detailed piping work demands the opposite: increasing viscosity to create a paste-like consistency that holds its shape. This is not achieved by simply letting the chocolate cool down randomly, which would lead to uncontrolled crystallization and a lumpy, unworkable texture. Instead, the goal is to purposefully build a stable Beta V crystal network within the tempered chocolate.
The technique involves holding the tempered chocolate at the lowest end of its working temperature range while stirring it continuously. For dark chocolate, this is around 88-90°F (31-32°C). This combination of low temperature and constant agitation encourages the formation and multiplication of the stable Beta V crystals. These crystals interlock and form a network that gives the chocolate body and hold, transforming it from a fluid liquid into a smooth, pipeable paste without it ever becoming hard or grainy.
A professional method to accelerate this process is through pre-crystallization using cocoa butter powder (like Mycryo). After melting the chocolate, you add about 1% of cocoa butter powder by weight. This seeds the chocolate with a high concentration of stable crystals. As you stir and cool the chocolate to its working temperature, these seeds promote the rapid, controlled growth of the desired crystal network. This gives you a pipeable consistency faster and with more stability, allowing you to work at a slightly higher temperature without losing structure.
The wet spoon mistake that turns your fluid chocolate into a brick
There is no faster way to ruin a batch of perfectly fluid chocolate than by introducing water. Even a single drop can cause the chocolate to “seize”—transforming almost instantly from a silky liquid into a thick, grainy, and unworkable mass. This is not a simple thickening; it is a catastrophic phase change. The sugar particles in the chocolate, which are suspended in the cocoa butter (fat), are hydrophilic. When water is introduced, they absorb it, clump together, and break their suspension in the fat, causing the entire mixture to become a gritty paste.
Case Study: The Fountain Failure
A caterer preparing for an event found their chocolate fountain was running thick. An assistant, thinking a little steam from a nearby pot would help, inadvertently introduced moisture into the chocolate. Within seconds, the entire 5kg batch seized, turning into a lumpy sludge that clogged the machine. The only solution was to discard the entire batch and start over with fresh, dry chocolate, a costly and time-consuming error.
Once chocolate has seized, it cannot be returned to its original state for tempering or enrobing. However, it is not a total loss. Your goal should shift from “fixing” it to “transforming” it. You can salvage seized chocolate for other applications by adding more hot liquid to fully dissolve the sugar clumps. For example:
- Add a small amount of hot cream while stirring vigorously to create a usable ganache.
- Stir in more fat, such as vegetable oil or melted butter, to create a base for brownies or a dense chocolate sauce.
The cardinal rule remains: fat and water do not mix in the world of couverture. Always use perfectly dry utensils, bowls, and work surfaces. This simple discipline is the most critical factor in maintaining your chocolate’s fluidity.
Bain-marie or proofer: how to keep 5kg of fluid chocolate for 4 hours of service?
Maintaining a large volume of chocolate at the perfect working temperature and fluidity for an extended period, such as a 4-hour service, is a significant operational challenge. The method used to hold the chocolate is just as important as the initial tempering. While a simple bain-marie is a common tool, it is fraught with risks for long-term holding.
The primary danger of a bain-marie is twofold: unstable temperature and the risk of condensation. The water can easily overheat, causing the chocolate to lose its temper. Conversely, temperature differences between the hot water and the ambient air can create steam and condensation on the rim of the bowl, which can drip into the chocolate and cause it to seize. It is a high-risk method suitable only for short periods.
For professional, long-term stability, dedicated equipment is the only reliable solution. A folding proofer or a dedicated chocolate warmer provides a stable, dry heat environment that eliminates the risks associated with water. These devices can hold chocolate at a precise temperature (e.g., 115°F/46°C for melting or 90°F/32°C for holding dark chocolate) for hours without direct supervision.
| Equipment Type | Temperature Stability | Risk Factors | Time Capacity |
|---|---|---|---|
| Bain-marie | Variable | Risk of condensation from temperature differences causing chocolate to seize | 1-2 hours |
| Folding Proofer | Stable at 115°F/46°C | 1lb solid block melts in 2.5 hours; smaller pieces faster | Extended periods |
| Chocolate Warmer | Professional standard | Minimal when properly maintained | 4+ hours continuous |
Investing in a chocolate warmer or a proofer is an investment in consistency and peace of mind. It allows you to focus on production, confident that your chocolate will remain perfectly fluid and in temper throughout the entire service, eliminating the need for constant monitoring and re-tempering.
How to manage the dry phase of conching to maximize the evaporation of acids?
While a pastry chef doesn’t typically conche chocolate, understanding this production step provides deep insight into viscosity. Conching is where the chocolate’s final flavor and texture are developed. The “dry phase” is particularly relevant: the chocolate paste is ground and aerated, and friction generates heat, which helps volatile acids (like acetic acid from fermentation) to evaporate. This process refines the flavor, but it also fundamentally defines the chocolate’s inherent viscosity.
The final fluidity of a couverture is largely determined by its total fat content, a parameter set during manufacturing. The ratio of cocoa solids to cocoa butter (and sometimes milk fat) is precisely calculated. Studies show that even minor shifts, like moving from 34% to 36% total cocoa butter content, can significantly impact the final flow properties of the chocolate. A higher fat content generally results in lower viscosity.
So, what does this mean for you in the kitchen? It means that when you add pure cocoa butter to a couverture, you are performing a micro-version of a step that happens during production. You are not introducing a foreign substance; you are increasing the total fat percentage of the system, thus lowering its plastic viscosity and yield stress. This is why adding cocoa butter feels so natural—it’s completing the work the manufacturer started. This knowledge elevates your actions from simply following a recipe to making informed, scientific adjustments based on the fundamental properties of the material.
Neutral or aromatic: which cocoa butter to use for fluidity without changing the taste?
When your goal is to adjust viscosity, the type of cocoa butter you add is as important as the quantity. Not all cocoa butter is the same. The primary choice is between a standard, aromatic cocoa butter and a “deodorized” version. Standard cocoa butter retains some of the natural aromatic compounds of the cocoa bean, which can subtly influence the flavor profile of your finished product. For most applications, this is perfectly acceptable and even desirable.
However, when you are working with a delicate white chocolate or a couverture with very specific flavor notes that you want to preserve perfectly, deodorized cocoa butter is the ideal choice. This type of cocoa butter has been steam-treated to remove its aromatic compounds, rendering it completely neutral in taste and smell. It allows you to increase fluidity without any flavor interference. As a rule of thumb, the more fluid you need the chocolate to be, the more cocoa butter you’ll add, and the more important it becomes to use a neutral-tasting product.
For precise, small-batch adjustments, cocoa butter in micro-powder form (like Callebaut’s Mycryo™) is an excellent tool. It’s 100% deodorized cocoa butter that melts and incorporates very easily. Professional chocolatiers recommend a methodical approach: add cocoa butter in 1% increments by weight, testing the viscosity after each addition until you reach your target. This level of precision is the difference between amateur and professional results.
Key Takeaways
- Viscosity is a spectrum: Your goal is not just “thin” or “thick,” but a precise point on that spectrum determined by the application (fountain, glaze, piping).
- Cocoa butter is king: Adding pure cocoa butter is superior to oil as it maintains the chocolate’s structural integrity, snap, and gloss by reinforcing the existing crystal network.
- Control is everything: Master temperature, agitation, and a dry environment. These factors have a greater impact on viscosity and stability than any ingredient you can add.
How to Enrobe Bonbons Manually Without Leaving Thick Feet?
Manually enrobing bonbons is a craft where perfect viscosity control is paramount. The goal is to achieve a shell that is exquisitely thin, uniform, and glossy, with no “foot”—that thick puddle of chocolate that can form at the base. This undesirable feature is almost always a sign that the chocolate’s viscosity was too high or that the excess was not removed properly. The entire process is a dance between temperature, fluidity, and technique.
The thickness of the shell is directly related to the chocolate’s yield stress—the amount of force required to make it flow. Thicker chocolate has a higher yield stress and will cling more stubbornly to the bonbon. While your chocolate must be fluid, the technique for removing excess is what truly prevents feet. This involves a sharp vertical tap of the dipping fork on the edge of the bowl to shake off the bulk, followed by a clean horizontal scrape along the tines to remove the final layer from the bottom. This two-part motion is critical.
Furthermore, the temperature of your ganache centers plays a vital role. If the centers are too cold, they will cause the chocolate shell to set almost instantly upon contact, preventing the excess from dripping off no matter how good your technique is. Ensure your centers are at a cool room temperature (around 68°F/20°C) before dipping. This balance of chocolate viscosity, ganache temperature, and dipping technique is the trifecta for achieving a flawless, footless enrobing.
Action Plan: Perfect Enrobing Technique
- Temperature Control: Maintain your tempered chocolate at its optimal working temperature to ensure consistent, predictable viscosity throughout the process.
- Emulsifier Balance: For advanced control, consider using couverture that employs emulsifiers like lecithin and PGPR to manage yield and viscosity behavior.
- Tap Technique: After dipping, give the fork a sharp, vertical tap on the bowl’s edge. This uses momentum to remove the bulk of the excess chocolate.
- Scrape Motion: Immediately follow the tap with a smooth, horizontal scrape of the fork’s tines against the rim of the bowl to clean the bottom of the bonbon completely.
- Center Temperature: Ensure ganache centers are not overly chilled. They should be firm but close to room temperature to prevent premature setting of the couverture.
Apply these principles today to take full control of your chocolate work. By moving from simple recipes to a deep understanding of the material science, you can achieve flawless, consistent, and professional results in every single application.