Achieving a three-week shelf life for ganache isn’t about the recipe; it’s about controlling its molecular stability.
- Mastering water activity (aW) to a level below 0.86 is the primary defense against microbial spoilage.
- Preventing fat bloom and oxidation requires precise temperature control and minimizing air exposure during processing.
Recommendation: Implement a systematic control of temperature, moisture, and air at every stage of production to guarantee consistent, long-lasting results.
For any takeaway or professional food business, product consistency and shelf life are paramount. A ganache that separates, dulls, or spoils prematurely translates directly into lost revenue and a damaged reputation. The common advice often revolves around using “better ingredients” or simply keeping the product refrigerated. While not incorrect, this guidance barely scratches the surface of food science and fails to address the root causes of instability that professionals face.
These conventional tips overlook the microscopic battles being fought within your emulsion. They ignore the migration of free water, the slow oxidation of fats, and the undesirable crystallization of both sugar and cocoa butter. To truly produce a ganache that remains impeccably shiny, smooth, and safe to eat for three weeks, one must move beyond the culinary artist’s intuition and adopt the precision of a food scientist.
The true key lies not in a secret recipe, but in the deliberate management of molecular forces. The secret to longevity is understanding and controlling water activity (aW), ensuring a perfect and stable emulsion, and guiding the crystallization process. This is the difference between an artisanal product that must be sold in 48 hours and a professional creation with a reliable, extended shelf life.
This guide will deconstruct the science behind ganache preservation. We will explore how to measure and control free water, leverage the power of specific sugars, mitigate oxidation, avoid common temperature-related errors, and diagnose the tell-tale signs of decay. By mastering these principles, you can engineer a superior product that delivers on its promise of quality, day after day.
To navigate these technical aspects, this article is structured to build your expertise from foundational principles to advanced diagnostics. The following sections provide a clear roadmap for mastering ganache stability.
Table of Contents: Engineering a Shelf-Stable Ganache
- Why Measuring Free Water Is Vital to Avoid Molds in Your Chocolates
- How Do Trimoline or Honey Prevent Your Ganache from Drying Out and Crusting?
- Air Bubbles or Smooth Texture: Why Investing in a Vacuum Mixer Changes Preservation
- The Freezing Mistake That Makes Your Chocolates Sweat When They Come Out of the Cold
- Stability Issue: How to Make a Whipped Ganache Hold on an Entremets for 48h
- The Mistake of Adding Cold Liquid That Breaks Your Emulsion Instantly
- How Does Nut Fat Migrate to the Surface and Create White Spots?
- How to Distinguish Fat Bloom from Sugar Bloom on Aged Chocolate
Why Measuring Free Water Is Vital to Avoid Molds in Your Chocolates
The single most critical factor determining the shelf life and safety of your ganache is not its total moisture content, but its water activity (aW). Water activity measures the amount of “free” or “unbound” water available for microbial growth. Molds, yeasts, and bacteria require this free water to survive and multiply. By controlling aW, you are directly controlling the potential for spoilage, making it a non-negotiable metric for any long-shelf-life product. Simply put, if you can bind the water, you can stop the microbes.
For a ganache, the goal is to lower the water activity to a level that is inhospitable for most pathogens. A typical dark chocolate ganache maintains a water activity of around 0.86, which is a critical threshold. Below this level, the growth of most common spoilage bacteria is significantly inhibited. For a target of three weeks or more, professionals aim for an aW even lower, entering a range where preservation is greatly enhanced. This is achieved not by removing water, but by adding ingredients that chemically bind to it, such as specific sugars or alcohols.
Investing in a water activity meter provides precise, actionable data. It moves your production from guesswork to scientific control, allowing you to validate your recipe and process. Without this measurement, you are effectively blind to the primary risk factor in your product, leaving shelf life and safety to chance. The table below illustrates the direct correlation between water activity levels and expected shelf life under controlled conditions.
| Water Activity Range | Expected Shelf Life | Storage Conditions |
|---|---|---|
| 0.87-0.89 | 30 days | 18-20°C, 45-60% RH |
| 0.84-0.86 | 6-9 weeks | 18-20°C, 45-60% RH |
| 0.80-0.83 | 10-12 weeks | 18-20°C, 45-60% RH |
| 0.75-0.80 | 16-26 weeks | 18-20°C, 45-60% RH |
How Do Trimoline or Honey Prevent Your Ganache from Drying Out and Crusting?
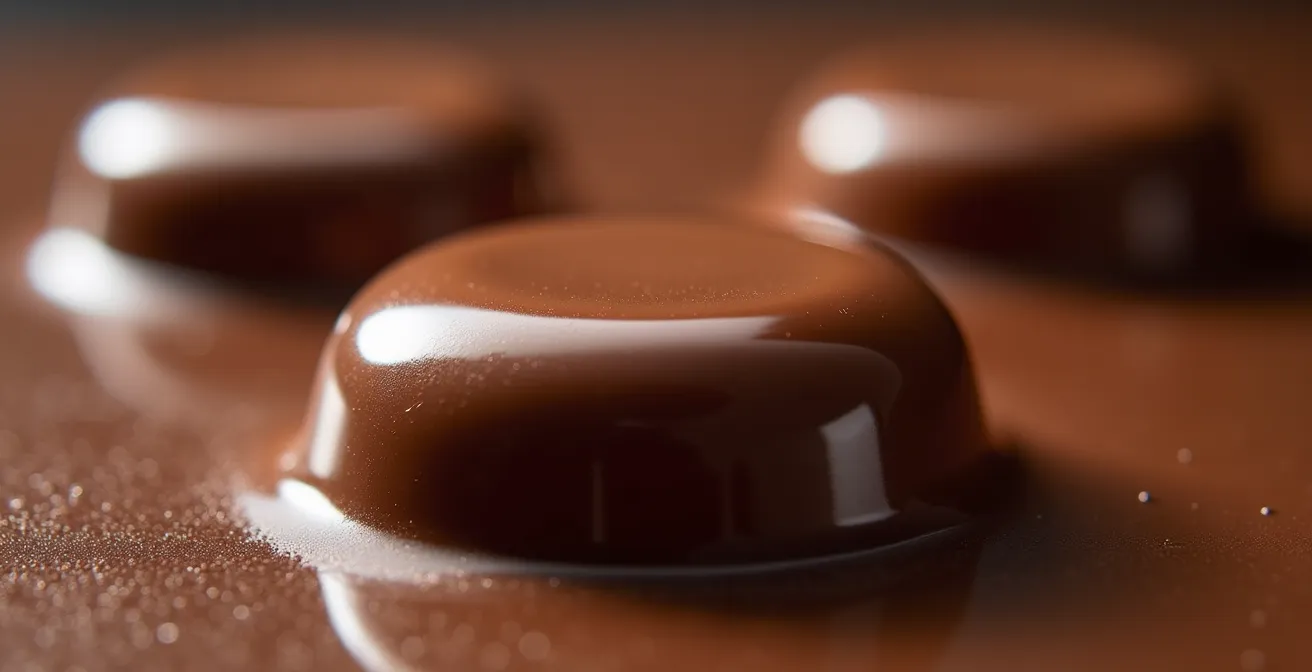
Once the importance of water activity is understood, the next step is to control it. This is where invert sugars like trimoline, honey, or glucose syrup become essential tools. These sugars possess powerful hygroscopic properties, meaning they attract and chemically bind to free water molecules within the ganache. Unlike regular sucrose (table sugar), which tends to crystallize and release water, invert sugars remain in a more stable, non-crystalline state, effectively locking up moisture.
This binding action has two crucial benefits. Firstly, by reducing the available free water, it directly lowers the water activity (aW), thus extending the microbial shelf life as discussed previously. Secondly, it prevents the ganache from drying out and forming a hard, unpleasant crust on the surface. This crusting, known as sugar bloom in some contexts, occurs when moisture evaporates, leaving behind crystallized sugar. By holding onto the water, hygroscopic sugars maintain the ganache’s smooth, fondant texture for a longer period.
The dosage is critical; too little will be ineffective, while too much can make the ganache overly sweet or soft. As a professional standard, chocolatiers typically add invert sugar at a ratio of 5-8 grams per 100 grams of cream. This small addition makes a significant difference in both texture and preservation without drastically altering the flavor profile. These sugars are not just sweeteners; they are functional ingredients that act as powerful preservation and texturizing agents.
The image below provides a conceptual visualization of how these crystalline structures interact with water molecules, creating the stable matrix essential for a long-lasting ganache.
This molecular binding is the key to maintaining a desirable texture. The result is a product that not only lasts longer but also retains the luxurious, melting quality that customers expect from a high-end confection.
Air Bubbles or Smooth Texture: Why Investing in a Vacuum Mixer Changes Preservation
Beyond microbial spoilage, the second greatest threat to your ganache’s shelf life is oxidation. The incorporation of air bubbles during mixing introduces oxygen, which reacts with the fats in both the chocolate and the cream. This process leads to oxidative rancidity, producing off-flavors and aromas that render the product unpalatable, even if it remains microbially safe. A perfectly smooth, dense texture is therefore not just an aesthetic goal—it is a cornerstone of preservation.
Traditional mixing methods, whether by hand or with a standard planetary mixer, inevitably incorporate air. These microscopic bubbles are pockets of oxygen trapped within the emulsion, acting as time bombs for flavor degradation. For a professional aiming for a multi-week shelf life, eliminating this trapped oxygen is not optional. This is where a vacuum mixer becomes a strategic investment. By mixing the emulsion under a vacuum, dissolved and trapped air is physically removed from the ganache before it has a chance to cause damage.
The impact on preservation is profound, as experts in the field confirm. As noted by industry specialists, the benefits are clear and directly tied to flavor preservation over time. According to Chocolate Course Online:
Removing oxygen can extend the fresh flavor profile of a ganache from days to weeks by inhibiting the chemical reactions that cause rancidity.
– Chocolate Course Online, How to Extend Shelf Life of Slabbed Chocolate Ganache
A vacuum mixer creates a visibly denser, shinier, and more fluid ganache. This improved texture is a direct result of eliminating air bubbles, leading to a more stable emulsion and, critically, a longer period of peak flavor. For a takeaway business where a product might sit for several days before sale, this protection against rancidity is a crucial quality assurance measure.
The Freezing Mistake That Makes Your Chocolates Sweat When They Come Out of the Cold
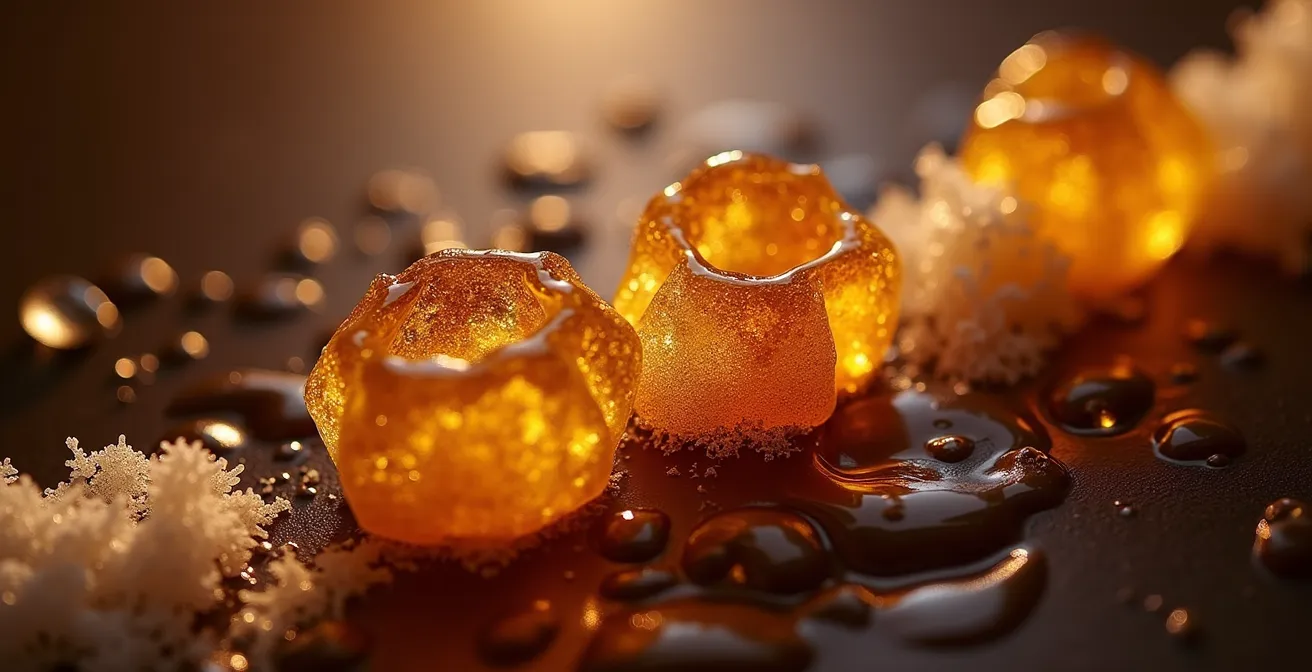
Freezing is a common strategy for extending the shelf life of ganache-based products, but it is fraught with peril if managed incorrectly. The most frequent and damaging mistake is improper thawing, which leads to condensation and subsequent sugar bloom. When a frozen chocolate is moved directly to a warm, humid environment, its cold surface causes moisture from the air to condense, just like a cold drink on a summer day. This phenomenon is a direct function of temperature and ambient humidity.
This surface moisture dissolves some of the sugar in the chocolate. As the water evaporates, the sugar is left behind, recrystallizing into a fine, white, gritty layer. This is sugar bloom. It is not harmful, but it is visually unappealing and creates a dry, sandy texture that ruins the customer experience. The critical environmental factor is the dew point; if the chocolate’s surface temperature is below the dew point of the room, condensation is inevitable. This is why it is noted that condensation occurs on ganache when humidity exceeds 65% relative humidity, especially with a significant temperature differential.
The correct procedure to prevent this “sweating” is a gradual, multi-stage thawing process. Chocolates should be moved from the freezer to a refrigerator for several hours (or overnight). During this stage, they are still in a low-humidity, sealed environment, allowing their temperature to rise slowly without exposure to moist air. Once they have reached refrigerator temperature, they can be moved to a cool room, and only then to ambient temperature. This staged approach ensures the surface temperature of the chocolate is always close to the temperature of its surrounding environment, preventing condensation from ever forming.
This diagram illustrates the concept of a controlled temperature gradient, a crucial process for preventing the thermal shock that leads to condensation.
Ignoring this thawing protocol is one of the fastest ways to ruin a perfectly good batch of frozen products, turning a shiny, professional confection into a dull, gritty disappointment.
Stability Issue: How to Make a Whipped Ganache Hold on an Entremets for 48h
Whipped ganache presents a unique stability challenge. While a classic ganache relies on a dense emulsion, a whipped ganache is a foam—an air-in-fat emulsion stabilized by a cocoa butter crystal network. Its ability to hold its shape on a cake for 48 hours without weeping, collapsing, or becoming grainy depends entirely on creating the correct type and structure of these crystals. The key is promoting the formation of stable Form V (Beta) cocoa butter crystals before whipping.
When a ganache is made, the cocoa butter is melted. As it cools, it must recrystallize. A rapid, uncontrolled cooling process creates unstable crystal forms (like Alpha or Form IV), which result in a weak network that cannot effectively trap air. The ganache may seem fine initially, but the structure will quickly break down. To achieve long-term stability, the ganache must be “pre-crystallized” by allowing it to cool slowly and rest at a specific temperature. This process encourages the formation of the most stable beta crystals.
The following case study outlines the professional method for achieving this crucial crystalline structure, which is the secret to a whipped ganache that holds for days, not hours.
Case Study: Beta Crystal Formation for Foam Stability
Professional chocolatiers achieve 48-hour stability by allowing ganache to crystallize at 16-18°C for a minimum of 12 hours before whipping. This specific temperature and time allow the melted cocoa butter to slowly form a high proportion of Form V (Beta) crystals. These strong, stable crystals interlock to create a rigid, three-dimensional lattice. When the ganache is subsequently whipped, this robust network is capable of trapping and holding air bubbles securely without collapsing, ensuring the foam structure remains intact on an entremets for at least 48 hours under refrigeration.
This pre-crystallization step is non-negotiable for structural integrity. Whipping a warm or improperly rested ganache will always lead to failure. By controlling the crystallization process, you are building the fundamental architecture that will support the delicate foam structure, guaranteeing a product that looks as good on day two as it did on day one.
The Mistake of Adding Cold Liquid That Breaks Your Emulsion Instantly
A ganache is a fragile emulsion of fat (from cocoa butter and cream) and water (from cream). Its stability depends on maintaining a delicate balance, and nothing disrupts this balance more violently than thermal shock. The most common cause of a broken, greasy, or split ganache is the addition of a cold liquid to the warm chocolate-fat mixture. This mistake causes the fat to seize and separate from the water phase almost instantly.
When the warm, melted cocoa butter comes into contact with a cold liquid (like cold cream, a cold fruit purée, or alcohol straight from the bottle), it rapidly solidifies. This sudden crystallization prevents the fat molecules from properly emulsifying with the water molecules. Instead of a smooth, homogenous mixture, you are left with a grainy mass of solid fat swimming in a watery liquid. The lecithin naturally present in chocolate, which acts as an emulsifier, is completely overwhelmed by this drastic temperature change and cannot hold the two phases together.
To prevent this catastrophic failure, all liquids must be incorporated when they are at a temperature close to that of the chocolate base. The golden rule is to ensure that all liquid additions should be warmed to 35-40°C (95-104°F) before being blended into the ganache. This ensures that the cocoa butter remains in a fluid state, allowing the emulsifiers to work effectively and create a stable, silky emulsion. Adding ingredients at the correct temperature is a fundamental principle of emulsion chemistry.
Even a small amount of cold liquid can initiate the breaking process. It is a procedural error that is entirely avoidable through disciplined temperature control. Ensuring all components are within the correct temperature window before they are combined is a mark of professional practice and a guarantee against the costly and frustrating experience of a broken ganache.
How Does Nut Fat Migrate to the Surface and Create White Spots?
When creating ganaches or pralines with nuts, a new preservation challenge emerges: fat migration. This phenomenon is responsible for the formation of white, cloudy spots on the surface of nut-based chocolates, a defect that can be mistaken for mold but is actually a form of fat bloom. This occurs because the liquid oil from the nuts (like hazelnut or almond oil) is thermodynamically incompatible with the solid cocoa butter of the chocolate.
Over time, the liquid nut oil slowly seeps or “migrates” through the solid crystalline lattice of the cocoa butter, seeking to reach the surface. This process is driven by basic physics; the system is trying to reach a more stable energetic state by separating its incompatible components. According to a study in the journal Foods, this migration is a well-documented process where liquid nut oils migrate through solid cocoa butter’s crystalline lattice due to this incompatibility. When the nut oil reaches the surface and comes into contact with air, it recrystallizes in an uncontrolled manner, forming a new, visible layer of fat crystals that we perceive as white spots or a hazy film.
The rate of migration depends on several factors, including the type of nut (nuts with higher free oil content, like hazelnuts, are more problematic), the storage temperature (higher temperatures accelerate migration), and the thickness of the chocolate shell. A thicker, well-tempered chocolate shell can act as a better barrier, slowing down the process. Another professional technique is to introduce a “seed” of cocoa butter into the nut paste itself, which helps to create a more stable crystalline network within the filling and reduce the mobility of the free nut oil.
Understanding this mechanism is key to preventing it. It’s not a sign of spoilage in a microbial sense, but it is a significant quality defect that shortens the visual and textural shelf life of your premium nut-based confections.
Key Takeaways
- The primary goal for a 3-week shelf life is lowering Water Activity (aW) below 0.86 to inhibit microbial growth.
- Oxidation is the main enemy of flavor. Removing air with a vacuum mixer is a critical step for long-term taste preservation.
- Temperature control is non-negotiable: gradual thawing prevents sugar bloom, and adding warm liquids prevents emulsion breakage.
How to Distinguish Fat Bloom from Sugar Bloom on Aged Chocolate
As a final step in quality control, a professional must be able to accurately diagnose the visual defects that can appear on aged chocolate. The two most common culprits are fat bloom and sugar bloom. While both result in a whitish film that damages the product’s appearance, they have different causes and distinct characteristics. Being able to distinguish between them is an essential diagnostic skill for troubleshooting issues in your production or storage.
Fat bloom is the more common of the two. It is caused by the recrystallization of cocoa butter on the surface. This can happen due to improper tempering or, as is often the case for filled chocolates, when fat bloom typically develops when chocolate is stored above 24°C (75°F), causing the cocoa butter to soften and re-solidify incorrectly. Fat bloom feels greasy or waxy to the touch and will melt and disappear if you rub it gently with your finger. It generally appears as milky streaks or a cloudy film.
Sugar bloom, on the other hand, is caused by surface moisture, as discussed in the context of freezing. It feels dry, rough, and gritty, and will not melt to the touch. It often appears as more uniform, dusty, or spotty white patches. Differentiating the two is crucial because it points to different problems in your process: fat bloom points to a temperature/tempering issue, while sugar bloom points to a humidity/condensation issue. The following audit provides a simple, systematic way to identify the specific type of bloom affecting your product.
Action Plan: Your Bloom Identification Checklist
- Visual Inspection: Observe the pattern of the white film. Are they irregular streaks (likely fat bloom) or a more uniform, dusty coating (likely sugar bloom)?
- Touch Test: Gently rub the surface with a fingertip. If the film feels greasy or waxy and melts away, it is fat bloom. If it feels dry, gritty, and does not change, it is sugar bloom.
- Water Drop Test: Place a single, tiny droplet of water on the bloom. If the white film dissolves under the droplet, it is sugar bloom. If the water beads up and sits on top, it is fat bloom.
- Temperature Test: Gently warm a small area of the chocolate to around 28°C (82°F) with a fingertip or a careful heat source. Fat bloom will temporarily disappear as the crystals melt back into the chocolate. Sugar bloom will remain unchanged.
- Microscopic Analysis: For definitive confirmation in a lab setting, observe a sample under a microscope. Fat bloom presents as fine, needle-like crystals, whereas sugar bloom shows larger, irregular crystalline deposits.
By systematically applying these scientific principles—from controlling water activity to mastering temperature and diagnosing final defects—you move from simply making ganache to engineering a consistently superior and reliable product. The next logical step is to integrate these checks into your daily production workflow, creating a robust quality assurance system.
Frequently Asked Questions on Ganache Stability
What causes ganache to break when adding liquids?
Thermal shock from cold liquids causes immediate fat crystallization, physically separating the fat from water phases.
How can I rescue a broken ganache?
Gently warm 1/3 of the broken ganache to 45°C, then slowly blend in the remaining cold portions using an immersion blender.
What role does lecithin play in preventing breaks?
Natural soy lecithin acts as an emulsifier, but sudden temperature drops overload its capacity to hold fat and water together.